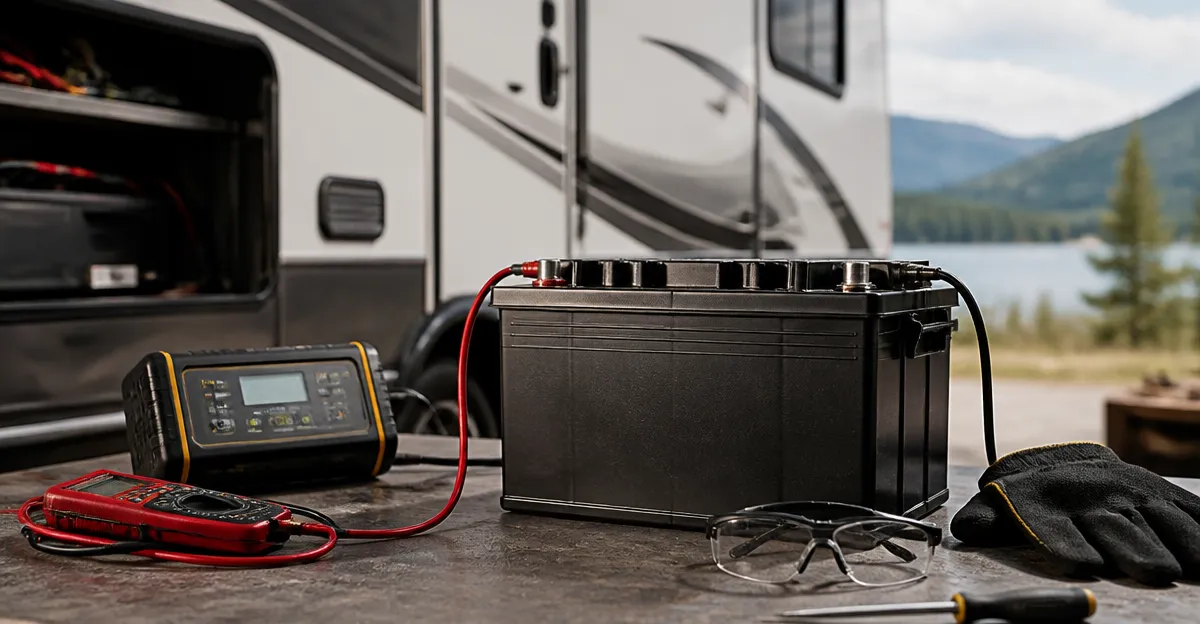
How to Desulfate a Lead‑Acid RV Battery: Step‑by‑Step DIY Guide to Restore Capacity and Extend Battery Life Safely
Introduction
Lead‑acid batteries are the heart of an RV power system, yet they suffer from sulfation that reduces capacity and reliability. This guide will teach the reader how to identify sulfation, apply proven desulfation techniques, and verify restored performance. By following the step‑by‑step instructions, one can extend battery life, avoid costly replacements, and maintain a dependable power supply for travel and camping. The information is presented in a professional tone, with clear explanations of each action and the scientific rationale behind it.
The reader will learn how to prepare the work area, select appropriate tools, connect a desulfator device, optionally use a chemical additive, and evaluate the results. Safety considerations are emphasized throughout, ensuring that the process does not endanger the user or the vehicle. Ultimately, the guide empowers the RV owner to perform a maintenance task that is often overlooked but highly beneficial.
What You Will Need
- Personal protective equipment (gloves, safety glasses, and flame‑resistant clothing).
- Multimeter for voltage and resistance checks.
- Battery terminal cleaning brush.
- Desulfation hardware – a professional desulfator such as the Segniwale Battery Desulfator.
- Optional chemical additive – the Duo‑Regen Resurex Battery Additive for accelerated sulfate removal.
- Basic hand tools (wrenches, pliers) to secure connections.
Step 1 – Safety Preparation
Before any electrical work, disconnect the RV from external power sources and remove the key from the ignition. Wear gloves and safety glasses to protect against acid splashes, and ensure the work area is well ventilated. Verify that the battery terminals are free of corrosion; if corrosion is present, clean it with a terminal brush and a baking‑soda solution. Finally, confirm that the battery is in a stable, upright position to prevent electrolyte spillage during the desulfation cycle.
Step 2 – Inspect the Battery
Use a multimeter to measure the open‑circuit voltage of each battery cell. A healthy 12 V lead‑acid battery should read between 12.6 V and 12.8 V after a rest period of at least six hours. Record the voltage, then perform a load test by briefly turning on a high‑draw accessory such as the interior lights. A significant voltage drop (below 10.5 V) indicates severe sulfation and justifies the desulfation process.
Visually inspect the battery case for bulging, cracks, or leaking electrolyte. Any physical damage requires replacement rather than desulfation. If the battery passes the visual and voltage checks, proceed to the next step.
Step 3 – Connect the Desulfator Device
Locate the clamps on the Segniwale Battery Desulfator. The device is designed for 12 V to 72 V systems and supports AGM, GEL, VRLA, SLA, and flooded batteries, making it ideal for RV applications. Attach the positive (red) clamp to the battery’s positive terminal and the negative (black) clamp to the negative terminal, ensuring a secure, polarity‑correct connection.
The desulfator includes built‑in safety features such as low‑voltage cut‑off, reverse‑polarity protection, and internal fuses. These safeguards prevent over‑discharge and protect both the battery and the user. Once connected, set the device to the appropriate voltage range (e.g., 12 V) using the selector switch, and verify that the indicator LEDs illuminate, confirming proper operation.
Step 4 – Run the Desulfation Cycle
Activate the desulfator and allow it to operate continuously for the recommended period of 2 – 4 weeks, depending on the severity of sulfation. The device emits high‑frequency, low‑current pulses that dissolve lead sulfate crystals on the plates, gradually restoring capacity. During this time, the battery can remain connected to the RV’s normal charging system; the desulfator works best when paired with a regular charge cycle.
Monitor the battery voltage weekly using the multimeter. An incremental rise of 0.1 V to 0.2 V per week indicates that the desulfation process is effective. If the battery fails to show improvement after two weeks, consider supplementing the process with a chemical additive as described in the next step.
Step 5 – Apply a Battery Additive (Optional but Recommended)
For batteries with heavy sulfate buildup, the Duo‑Regen Resurex Battery Additive provides an additional chemical pathway to break down crystals. This 16 Fl Oz bottle costs $30.00 and holds a 5‑star rating from three reviewers, indicating high satisfaction among early adopters.
Before adding the additive, charge the battery to at least 80 % of its capacity using the RV’s charger. Then, pour the recommended amount (typically 2 – 4 oz) into each cell, following the manufacturer’s instructions. The additive neutralizes acid buildup, improves electrical flow, and works synergistically with the pulse technology of the desulfator. After application, continue the desulfation cycle for an additional week to allow the chemical and electrical processes to complement each other.
Step 6 – Verify Restoration and Establish Ongoing Maintenance
After the desulfation period, disconnect the desulfator and perform a comprehensive load test. Charge the battery fully, then apply a 10‑amp load for 30 minutes. Measure the voltage drop; a healthy battery should remain above 12.5 V. Record the final capacity and compare it to the initial measurements taken in Step 2.
If the capacity has improved by at least 10 % and the voltage remains stable, the desulfation was successful. To maintain the restored condition, schedule a monthly check using the desulfator’s automatic mode, which can be left connected for continuous low‑level pulse maintenance. Additionally, keep the battery terminals clean and ensure the RV’s charging system is functioning correctly.
Tips & Pro Tips
- Always perform a visual inspection before connecting any device; a cracked case can leak electrolyte when the desulfator operates.
- Do not exceed the manufacturer’s recommended maximum voltage; over‑voltage can damage the battery plates.
- When using the additive, avoid over‑filling; excess fluid can cause spillage and corrosion on surrounding components.
- For multi‑battery RV systems, connect the desulfator to each battery sequentially if the device does not support parallel connections.
- Keep a log of voltage readings and dates; this data helps identify trends and plan future maintenance.
Troubleshooting
No Voltage Increase After Two Weeks: Verify that the desulfator’s clamps are firmly attached and that the device is receiving power. Check the indicator LEDs for fault codes; consult the user manual for error interpretation.
Battery Overheats During Cycle: Immediately disconnect the device. Overheating may indicate an internal short or excessive sulfation that requires replacement rather than reconditioning.
Persistent Low Voltage After Additive Use: Ensure the battery was fully charged before adding the fluid. If the problem persists, the battery may have irreversible plate damage.
Conclusion
This guide has presented a systematic approach to desulfating a lead‑acid RV battery, from safety preparation to final verification. By employing a professional desulfator such as the Segniwale Battery Desulfator and, when necessary, a chemical additive like the Duo‑Regen Resurex Battery Additive, one can restore lost capacity, extend service life, and reduce the likelihood of unexpected power loss while traveling. Regular maintenance, proper charging, and periodic desulfation will keep the battery system reliable for many seasons to come.
Products Mentioned in This Guide
Segniwale Battery Desulfator
Rating: 4.1/5.0 (164 reviews)
Professional pulse desulfator compatible with 12 V–72 V lead‑acid batteries, including AGM, GEL, SLA, and flooded types.
Duo‑Regen Resurex Battery Additive
Price: $30.00 | Rating: 5/5.0 (3 reviews)
Liquid electrolyte conditioner that removes sulfation, improves charge retention, and enhances electrical flow for lead‑acid and AGM batteries.
Beyprern Battery Desulfator
Price: $17.99 | Rating: 4.1/5.0 (22 reviews)
Automatic pulse reconditioner suitable for car, marine, RV, and deep‑cycle lead‑acid batteries, offering easy installation and continuous maintenance.
Frequently Asked Questions
What is sulfation in a lead‑acid RV battery and how does it affect performance?
Sulfation is the buildup of lead sulfate crystals on the battery plates, which reduces capacity, voltage output, and overall reliability.
Can I safely desulfate a lead‑acid battery using a desulfator device?
Yes, when you follow the manufacturer’s instructions, wear PPE, and disconnect the battery from the RV, a desulfator can safely restore plate health.
Do I need a chemical additive to desulfate my RV battery, or is a pulse charger enough?
A pulse charger often suffices; additives may help in severe cases but are optional and should be used only if recommended by the battery maker.
How long should a desulfation cycle run before I test the battery?
Typical cycles run 6–12 hours; after the cycle, let the battery rest for 30 minutes before measuring voltage and load performance.
What safety precautions should I take when desulfating a lead‑acid battery?
Wear gloves and safety glasses, work in a well‑ventilated area, avoid sparks, and ensure the battery is disconnected from all power sources.