How to Create a 12-Month Solar Prepping Plan for the Apocalypse: A Step-by-Step Off-Grid Survival Guide
Introduction
In a world where grid failure can occur without warning, having a reliable source of electricity becomes a matter of survival. This guide will teach the reader how to develop a comprehensive twelve‑month solar prepping plan that provides lighting, device charging, and emergency power. By following each step, one will create a resilient off‑grid system capable of supporting essential needs during prolonged outages. The information presented is practical, evidence‑based, and adaptable to a variety of environments.
The plan combines careful assessment, strategic component selection, and disciplined maintenance. It emphasizes redundancy, safety, and cost‑effectiveness, ensuring that the system remains functional even when resources are scarce. Readers will also discover how specific products, such as the Xynover Solar Camping Lanterns 4‑Pack, enhance the overall solution. Although the guide recommends tools, the core concepts can be applied with alternative equipment if desired.
What You’ll Need
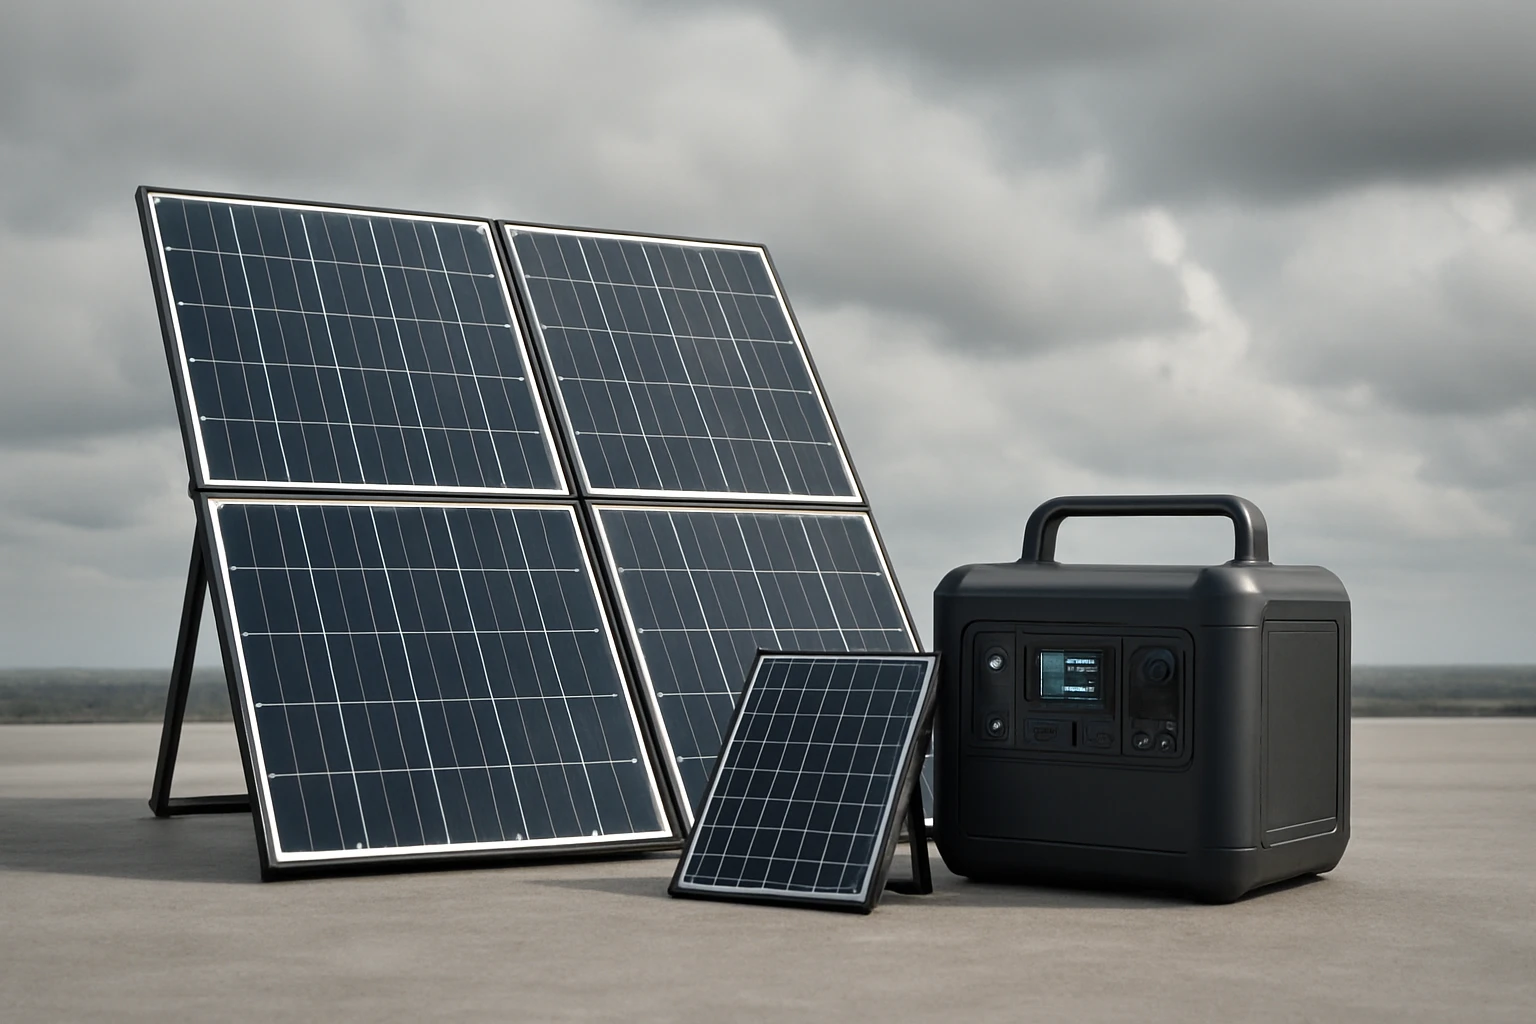
- Portable solar panels (minimum 100 W total output)
- Deep‑cycle battery bank (at least 200 Ah)
- Charge controller (MPPT preferred)
- Inverter (300 W pure sine wave)
- Wiring, connectors, and mounting hardware
- Energy‑efficient LED lighting and power‑bank capable lanterns – for example, the Xynover Solar Camping Lanterns 4‑Pack
- Basic tools (wire cutters, multimeter, screwdriver set)
- Weather‑proof enclosure for batteries and electronics
All items are readily available through reputable retailers, and the list can be expanded based on individual power demands. The following sections break down the implementation process into manageable phases.
Step 1: Assess Your Energy Requirements
The first step is to calculate the total watt‑hours (Wh) needed per day for essential devices. List items such as LED lights, a radio, a phone charger, and a small refrigerator, then multiply each device’s wattage by the number of hours it will operate. For example, a 10‑W LED lamp used for eight hours consumes 80 Wh, while a 5‑W phone charger running for three hours adds 15 Wh.
Summing these values yields the daily load; multiply by 30 to estimate a monthly requirement, and by 12 for the annual figure. Adding a 25 % safety margin accounts for cloudy days and inefficiencies. This calculation informs the size of the solar array and battery bank needed to sustain the system for a full year.
Document the results in a spreadsheet to track adjustments as new devices are added. A clear, numeric baseline prevents over‑engineering and reduces unnecessary expense.
Remember that energy consumption can be reduced by selecting low‑power appliances and employing conservation habits, such as using motion‑sensor lights and limiting non‑essential device usage.
Step 2: Design the Solar Array
With the daily Wh requirement known, determine the panel wattage needed to generate that energy under average sun conditions. In most temperate regions, a conservative estimate of four peak sun hours per day is appropriate. Divide the daily Wh by four to obtain the required panel wattage, then add a 20 % buffer for seasonal variations.
Choose portable, fold‑out panels that can be mounted on a roof, a tarp, or a ground‑level rack. Panels with built‑in charge controllers simplify wiring and improve safety. Ensure that the panels are rated for the same voltage as the battery bank to avoid mismatched systems.
Arrange the panels in a series‑parallel configuration that matches the charge controller’s input specifications. Use weather‑resistant mounting brackets and secure the panels with straps to withstand wind gusts. Proper orientation—south‑facing in the northern hemisphere—maximizes exposure.
Document the wiring diagram, noting the polarity of each connection, to facilitate future troubleshooting.
Step 3: Select and Install a Battery Bank
The battery bank stores the energy generated during daylight for use at night or during prolonged overcast periods. Deep‑cycle lead‑acid or lithium‑iron‑phosphate (LiFePO4) batteries are common choices. Lithium batteries have higher energy density, longer cycle life, and lower self‑discharge, but they are more expensive.
Calculate the required amp‑hour (Ah) capacity by dividing the daily Wh requirement by the battery voltage (typically 12 V) and multiplying by the number of days of autonomy desired. For a three‑day reserve on a 500 Wh daily load, the calculation is (500 Wh × 3) / 12 V ≈ 125 Ah. Adding a 20 % margin yields a bank of roughly 150 Ah.
Install the batteries in a ventilated, waterproof enclosure to protect them from temperature extremes and moisture. Connect the batteries in parallel for increased capacity while maintaining a 12 V system, or in series for higher voltage if the inverter requires it. Use appropriately sized cables and fuse protection to prevent overheating.
Regularly check electrolyte levels (for lead‑acid) and terminal tightness to ensure optimal performance.
Step 4: Integrate a Charge Controller and Inverter
A maximum power point tracking (MPPT) charge controller optimizes the power harvested from the panels, increasing efficiency by up to 30 % compared with PWM controllers. Select a controller rated for the total panel voltage and current, with a battery voltage matching the bank.
Connect the solar panels to the controller input, the battery bank to the controller output, and the inverter to the battery terminals. The inverter converts DC to AC, allowing the use of standard household appliances. A pure sine wave inverter preserves the integrity of sensitive electronics such as medical devices.
Configure the controller’s low‑voltage disconnect (LVD) and over‑charge protection settings according to the battery manufacturer’s recommendations. This safeguards the batteries from deep discharge and excessive charging, extending their lifespan.
Label each cable and document the settings for future reference, especially if multiple users will operate the system.
Step 5: Deploy Reliable Lighting and Portable Power Solutions
Lighting is a critical component of any survival plan, providing safety, morale, and the ability to perform tasks after dark. LED lanterns that incorporate a built‑in power bank offer dual functionality, reducing the number of separate devices required.
The Xynover Solar Camping Lanterns 4‑Pack exemplify this versatility. Each lantern delivers 100 lumens of ultra‑bright illumination, sufficient to light a small shelter or tent. The 360° LED design distributes light evenly, while the magnetic base and hanging hook enable hands‑free placement on metal surfaces, tent poles, or overhead branches.
These lanterns feature three charging options—solar, USB, or AA batteries—ensuring operation even if one method fails. The integrated power bank can charge smartphones and GPS devices, providing a lifeline for communication and navigation. With a runtime of over 12 hours on a single charge, they cover an entire night without requiring additional fuel.
At $36.09 per pack and a 4.5‑star rating from 3,604 reviewers, the lanterns represent a cost‑effective, high‑quality solution. Their military‑grade ABS housing offers shock resistance and water resistance, making them suitable for harsh weather conditions encountered during long‑term prepping.
Distribute the four lanterns strategically: one in the primary shelter, one in the secondary shelter, one in the kitchen or cooking area, and one in the emergency exit route. This placement maximizes coverage while preserving battery life through balanced usage.
Step 6: Test, Monitor, and Optimize the System
Before relying on the system during an emergency, conduct a full‑scale test that simulates typical daily usage. Operate all lights, charge devices, and run the inverter for a minimum of 24 hours while monitoring battery voltage, panel output, and controller logs.
Use a multimeter or a solar monitoring app to verify that the charge controller is correctly regulating voltage and current. Record any discrepancies and adjust cable sizes or connection points as needed to reduce voltage drop.
Optimize panel tilt and orientation based on seasonal sun paths to improve energy capture. In winter, a steeper tilt yields more direct sunlight, while a flatter angle is preferable in summer.
Document the results and update the energy‑consumption spreadsheet to reflect actual performance. This data will guide future upgrades and help maintain the system’s efficiency over the twelve‑month period.
Step 7: Establish a Maintenance Routine
Regular maintenance ensures that the solar prep plan remains reliable throughout the year. Schedule monthly inspections of the panels to clear debris, dust, and snow that can reduce output.
Check battery terminals for corrosion and tighten connections. For lead‑acid batteries, verify electrolyte levels and top up with distilled water if necessary. Lithium batteries require temperature monitoring but no electrolyte maintenance.
Inspect the charge controller and inverter for signs of overheating, and clean any ventilation openings. Test the lanterns by briefly activating each to confirm that the LEDs and power‑bank functions remain operational.
Keep a logbook noting dates of inspection, observed issues, and corrective actions. This habit creates a traceable record that simplifies troubleshooting during a crisis.
Tips & Pro Tips
- Use a solar tracker or adjustable tilt mount to follow the sun’s movement, increasing daily energy harvest by up to 15 %.
- Employ a DC‑to‑DC converter to power low‑voltage devices directly from the battery, bypassing the inverter and reducing conversion losses.
- Store spare AA batteries in a waterproof container; they provide a quick backup for the lanterns if solar charging is unavailable.
- Label each cable with heat‑shrink tubing and a permanent marker to avoid confusion during repairs.
- Consider adding a small wind turbine to supplement solar generation during prolonged cloudy periods.
Troubleshooting
Problem: Lanterns do not turn on after sunset.
Solution: Verify that the lanterns have been charged via solar or USB. If the built‑in battery is depleted, replace the AA batteries or connect a portable power bank. Check the magnetic base for metal contact; a non‑magnetic surface will prevent proper grounding.
Problem: Battery voltage drops rapidly during night use.
Solution: Reduce load by dimming LED lights or limiting inverter usage. Ensure the charge controller’s low‑voltage disconnect is set correctly to prevent deep discharge.
Problem: Solar panels produce lower than expected voltage.
Solution: Clean the panel surface, inspect for shading from nearby objects, and verify that the wiring is not damaged. Re‑angle the panels to capture maximum sunlight.
Conclusion
By following this twelve‑month solar prepping plan, one creates a self‑sustaining power system capable of supporting essential lighting, communication, and small appliances during prolonged grid failures. The guide emphasizes careful calculation, appropriate component selection, and disciplined maintenance, all of which contribute to long‑term reliability. Incorporating versatile tools such as the Xynover Solar Camping Lanterns 4‑Pack further enhances resilience by providing both illumination and portable charging in a single device.
Preparedness is not a one‑time event; it is an ongoing process of evaluation and improvement. Readers are encouraged to adapt the plan to their specific climate, budget, and household size, ensuring that their off‑grid solution remains effective when it matters most.
Products Mentioned in This Guide
Frequently Asked Questions
What size solar panel array is recommended for a 12‑month apocalypse prep?
A minimum of 100 W portable panels, expandable to 300‑500 W total, balances power needs and portability.
How often should I inspect and maintain my solar system during the year?
Conduct a visual check and clean panels monthly, and perform a full system test every three months.
Why is redundancy important in a solar prepping plan?
Redundancy ensures power continuity if a panel, battery, or charger fails, preventing total loss of electricity.
Can the Xynover Solar Camping Lanterns replace a traditional lighting system?
Yes, the 4‑pack provides reliable, low‑draw LED lighting and can serve as backup illumination for off‑grid setups.
What is the most cost‑effective way to store solar energy for long‑term outages?
Deep‑cycle lithium‑ion batteries offer high efficiency and longer lifespan at a reasonable price compared to lead‑acid options.