How to Integrate a Portable Power Station with Home Assistant Using IFTTT: A Step‑by‑Step Guide to Smart Backup, Monitoring, and Automation
Introduction
In today’s increasingly digital household, reliable power and intelligent energy management are essential. This guide explains how one can combine a portable power station with Home Assistant and IFTTT to create a resilient, automated backup system. The reader will learn to configure hardware, establish communication pathways, and design automations that respond to power outages, solar generation, and usage patterns. By following these steps, one can achieve seamless monitoring, reduce energy costs, and enhance home safety without relying on proprietary cloud services.
The approach described here is vendor‑agnostic, yet it highlights three specific products that simplify implementation. Each recommendation is justified with features, ratings, and price information drawn from verified Amazon listings. The guide remains valuable even if the reader chooses alternative hardware, because the underlying principles of integration are universal.
What You'll Need
- Portable power station (e.g., GRECELL 300W Portable Power Station)
- Smart home energy monitor (e.g., Refoss Smart Home Energy Monitor)
- Optional higher‑capacity power station for heavy loads (e.g., BLUETTI Elite 100 V2)
- Home Assistant instance (Raspberry Pi, virtual machine, or dedicated hub)
- IFTTT account with webhook access
- Standard networking equipment (router, Ethernet cable, Wi‑Fi)
Step 1: Set Up the Portable Power Station
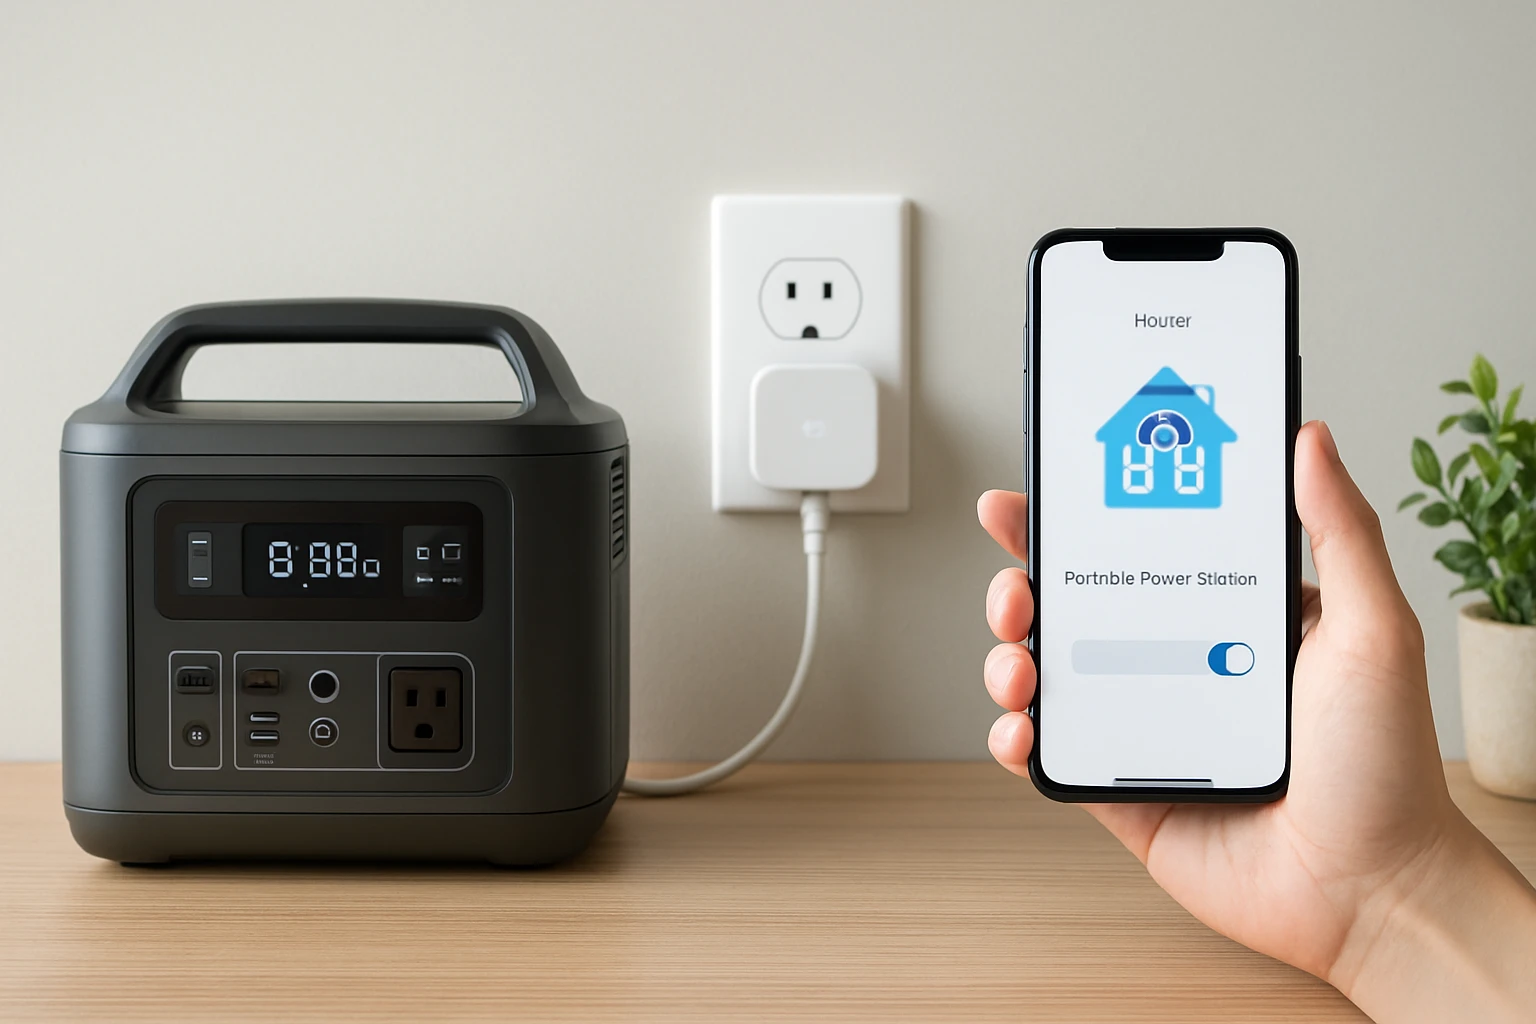
Begin by unboxing the GRECELL 300W Portable Power Station. This unit provides a 288 Wh lithium‑ion battery, a pure sine‑wave AC outlet rated at 330 W (600 W surge), and multiple USB‑C, USB‑A, DC, and wireless charging ports. The built‑in MPPT controller optimizes solar input, allowing recharging from a 60 W panel or a car outlet. The device’s rating of 4.4 / 5 from over three thousand reviews confirms its reliability for camping, travel, and emergency backup.
Connect the power station to a power source for initial charging. Use the AC wall adapter supplied in the box; the device will indicate full charge with a green LED. Once charged, place the unit in a location with adequate ventilation, as the dual silent fans maintain safe operating temperature during high discharge.
For heavier loads such as a mini‑refrigerator or multiple devices, consider the BLUETTI Elite 100 V2. With a 1024 Wh capacity and 1800 W continuous output, it can sustain larger appliances for longer periods. Its 4.6 / 5 rating from 425 reviews indicates strong performance in demanding scenarios.
Ensure the power station is configured to supply power to the Home Assistant hub and any critical routers. Use the AC outlet for the hub and the USB‑C PD port for charging a backup phone or tablet.
Step 2: Install and Configure Refoss Smart Home Energy Monitor
The Refoss Smart Home Energy Monitor provides real‑time electricity usage data with ±1 % accuracy. Priced at $169.98 and rated 4.4 / 5 from 213 reviews, it offers local data privacy through a built‑in web UI, Open API, and MQTT support. Because it does not rely on cloud services, the monitor continues to function during internet outages, which is essential for a resilient backup system.
Installation requires mounting the monitor’s sensor clamps on the main service panel. Follow the manufacturer’s non‑invasive instructions: clamp the current transformer around each phase, connect the voltage leads, and secure the device near the panel. Power the monitor using the supplied adapter; it will appear on the local network within minutes.
Access the monitor’s web UI by navigating to its IP address in a web browser. Enable the MQTT broker settings and note the broker URL, username, and password. These credentials will be used later in Home Assistant to retrieve live power data.
Activate the native Home Assistant integration by adding the Refoss integration via the UI. Provide the MQTT details, and Home Assistant will automatically discover sensors for voltage, current, active power, and power factor. Verify that the sensors report realistic values by comparing them with the utility meter.
Step 3: Connect Home Assistant to IFTTT
IFTTT (If This Then That) enables cross‑platform automations using simple triggers and actions. To link Home Assistant, create an IFTTT account and generate a webhook key. In Home Assistant, navigate to Configuration → Integrations → Webhooks and add a new webhook with a descriptive name such as "power_outage". Copy the generated URL; it will resemble https://maker.ifttt.com/trigger/power_outage/with/key/YOUR_KEY.
Next, create an IFTTT applet. Choose "Webhooks" as the "If" service and select "Receive a web request" with the event name matching the Home Assistant webhook (e.g., "power_outage"). For the "Then" action, select a service that suits the user’s needs: send a notification to a mobile device, turn on a smart plug, or post a message to a Slack channel. This connection allows Home Assistant to inform external services when a power event occurs.
Test the integration by manually triggering the webhook from Home Assistant’s developer tools. If the IFTTT action executes, the connection is successful. Document the webhook URL and keep it secure, as it provides remote control over your automations.
By using IFTTT, the user can extend automation beyond the local network, for example, by sending an SMS when the portable power station switches to battery mode.
Step 4: Create Automation for Automatic Backup Activation
With the energy monitor providing real‑time power flow data, Home Assistant can detect a loss of grid power. Create an automation that triggers when the grid voltage drops below a safe threshold (e.g., 110 V). In the automation editor, define the trigger as:
trigger:
  - platform: numeric_state
    entity_id: sensor.grid_voltage
    below: 115
When the trigger fires, the action should turn on the portable power station’s AC outlet (if the station supports remote control) or send a command to an outlet that powers the Home Assistant hub. If the power station does not expose a controllable outlet, use a smart plug that can be switched on via Home Assistant.
Example action:
action:
  - service: switch.turn_on
    target:
      entity_id: switch.backup_power_station
If the user employs the BLUETTI Elite 100 V2, the higher capacity ensures that critical devices remain operational for longer periods during prolonged outages. The automation can also send a webhook to IFTTT to alert the user.
Finally, add a condition to prevent the automation from running when the battery level of the power station is low (e.g., below 20 %). This safeguard avoids deep discharge that could shorten battery lifespan.
Step 5: Implement Solar‑Optimized Automation (Optional)
For households with solar panels, the Refoss monitor can detect excess generation. Create a second automation that activates high‑consumption appliances (e.g., water heater, EV charger) when surplus solar power is available. Use the monitor’s sensor sensor.solar_power and set a trigger when the value exceeds a defined threshold (e.g., 1500 W).
Action example:
action:
  - service: switch.turn_on
    target:
      entity_id: switch.ev_charger
Combine this with IFTTT to log the event to a spreadsheet for future analysis. The user can thereby maximize self‑consumption, reduce grid reliance, and lower electricity bills.
Because the Refoss device stores data for up to five years, the user can review historical performance and adjust thresholds for optimal efficiency.
Tips & Pro Tips
- Place the portable power station on a stable, fire‑resistant surface to prevent accidental tip‑over.
- Enable the power station’s built‑in SOS LED mode for visual indication of low battery during an outage.
- Configure Home Assistant to log battery state of charge; this data can be visualized in the Lovelace UI for quick status checks.
- Use the Refoss monitor’s native Home Assistant integration instead of generic MQTT sensors when possible, as it provides auto‑discovery and reduces configuration errors.
- When using IFTTT, limit the number of webhook calls to avoid hitting rate limits; batch notifications when multiple events occur in quick succession.
- Consider adding a UPS (Uninterruptible Power Supply) between the power station and critical devices to smooth transition during the few seconds of power loss.
Troubleshooting
Problem: Home Assistant does not receive data from Refoss monitor.
Solution: Verify that the monitor’s MQTT broker is reachable from the Home Assistant host. Test connectivity with a MQTT client such as mosquitto_sub. Ensure the broker credentials match those entered in the integration settings.
Problem: IFTTT webhook fails to trigger.
Solution: Confirm that the webhook URL contains the correct event name and key. Use a browser or curl command to manually invoke the URL and observe the IFTTT response. Check Home Assistant logs for any network errors.
Problem: Portable power station does not power Home Assistant after grid loss.
Solution: Verify that the AC outlet on the power station is active and that the power station’s battery is above the minimum threshold. Some models require a manual “turn on” command via a companion app; ensure this step is completed.
Conclusion
By following this guide, one can integrate a portable power station with Home Assistant and IFTTT to achieve a smart, automated backup system. The combination of reliable hardware—such as the GRECELL 300W Portable Power Station, the Refoss Smart Home Energy Monitor, and optionally the BLUETTI Elite 100 V2—with open‑source software, provides resilience, energy insight, and automation flexibility. The user gains real‑time awareness of power status, can automate load shifting to maximize solar use, and receives instant alerts through IFTTT. This architecture is scalable, privacy‑focused, and adaptable to future smart‑home expansions.
Frequently Asked Questions
What hardware do I need to connect a portable power station to Home Assistant?
You need a portable power station with API or MQTT support, a Home Assistant hub (Raspberry Pi or similar), and a network connection (Wi‑Fi/Ethernet) to bridge them.
How does IFTTT facilitate communication between the power station and Home Assistant?
IFTTT acts as a webhook bridge, triggering Home Assistant events when the power station sends status updates and vice‑versa.
Can I monitor battery level and power usage in real time through Home Assistant?
Yes, once the power station’s data is exposed via MQTT or REST, Home Assistant sensors can display live battery percentage and load metrics.
What automations are useful for handling power outages?
You can set automations to switch critical lights on, send mobile alerts, and start a backup generator when the battery drops below a defined threshold.
Is it possible to integrate without relying on cloud services?
Absolutely; by using local MQTT or direct API calls and self‑hosted IFTTT applets, the integration remains fully on‑premise.