Ultimate Guide to Optimizing Solar Array Placement at Campsites: Maximize Sun Exposure and Power
Introduction
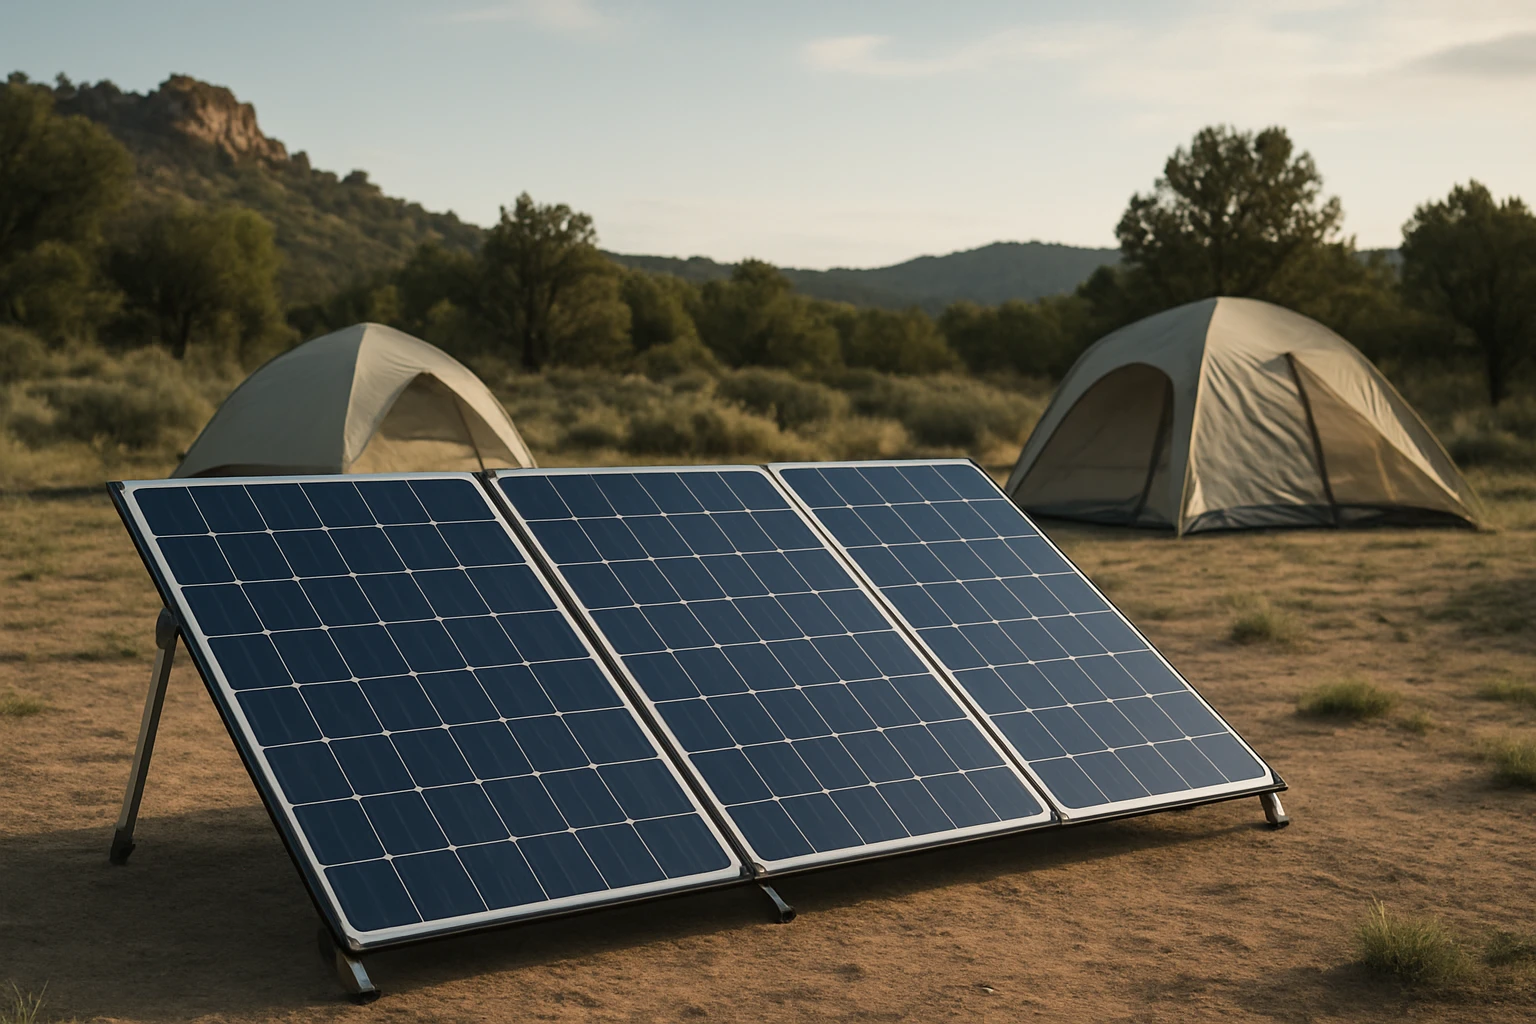
Camping enthusiasts increasingly rely on portable solar arrays to power devices, lights, and appliances while remaining off the grid. This guide explains how to evaluate campsite conditions, select appropriate equipment, and position solar panels for optimal sun exposure and power generation. Readers will learn foundational solar concepts, practical placement strategies, and how to choose between top‑rated products such as the Renogy 100W Solar Panel (2-Pack) and the Jackery SolarSaga 200W Portable Panel. By the end of the article, one will be equipped to design a reliable solar setup that maximizes energy harvest in diverse outdoor environments.
Background and Context
Solar energy conversion relies on photovoltaic (PV) cells that transform sunlight into electricity. The efficiency of a panel is the ratio of electrical output to incident solar energy, typically expressed as a percentage. Higher efficiency panels generate more power per unit area, which is crucial when space is limited on a rooftop or a portable frame. Temperature coefficient, angle of incidence, and shading are additional variables that influence real‑world performance. Understanding these factors enables campers to make informed decisions about panel selection and placement.
Most campsite installations involve either a fixed roof on an RV or a portable stand for foldable panels. Fixed installations benefit from a permanent orientation, while portable systems require quick setup and adjustable tilt. Both scenarios demand attention to sun path, seasonal variations, and local obstructions such as trees or structures. The following sections break down these considerations into actionable steps.
Assessing Sun Exposure at Your Campsite
The first step in optimizing array placement is to assess the sun exposure profile of the chosen campsite. Use a smartphone app or a handheld sun‑tracker to record sunrise, solar noon, and sunset times for the planned dates. Note any potential shading from nearby trees, rock formations, or temporary structures such as awnings. A clear view of the southern sky (in the Northern Hemisphere) or northern sky (in the Southern Hemisphere) during midday yields the highest irradiance.
Seasonal changes affect the sun’s altitude angle. In winter, the sun remains lower on the horizon, requiring a steeper tilt to capture direct rays. Conversely, summer sun is higher, allowing a flatter angle. An adjustable tilt mechanism, such as a telescoping pole or hinged mount, provides flexibility across seasons. When space permits, orient the panel perpendicular to the sun’s rays at solar noon for maximum instantaneous power.
Choosing the Right Solar Panel for Your Needs
Product selection should align with power requirements, portability, and durability. The Renogy 100W Solar Panel (2-Pack) offers high‑efficiency monocrystalline cells with a market‑leading 25% conversion rate, making it suitable for RV roofs or compact van installations. Each panel delivers 100 W at 12 V, and the two‑pack provides redundancy and the ability to scale the array to 200 W without additional wiring complexity.
For campers who prioritize lightweight, foldable solutions, the Jackery SolarSaga 200W Portable Panel combines bifacial technology with an IP68 rating, delivering up to 26.7% efficiency even in low‑light conditions. Its foldable design and built‑in handles enable rapid deployment in less than ten seconds, ideal for backpacking or short‑term campsite stays. Both products boast strong customer ratings—4.6/5 for Renogy (7,175 reviews) and comparable positive feedback for Jackery—indicating reliable performance in real‑world scenarios.
Mounting Strategies for Fixed Installations
When installing on an RV roof, use a low‑profile mounting bracket that distributes weight evenly across the frame. The Renogy panels are 11% smaller and 8% lighter than previous models, allowing installation on tight roof racks using 80/20 aluminum extrusions. Ensure the mounting hardware is corrosion‑resistant and rated for the panel’s IP65 protection level, which safeguards against snow, rain, and dust.
Align the panels along the longitudinal axis of the vehicle to reduce aerodynamic drag. A tilt angle of 10–15 degrees provides a balance between wind resistance and sun exposure during midday travel. For extended stays, consider a hinged mount that can be angled upward to capture the highest solar altitude, then flattened for travel to minimize wind load.
Mounting Strategies for Portable Deployments
The Jackery SolarSaga’s foldable frame includes integrated hinges and a sturdy carry handle, enabling a tripod‑style stand on uneven ground. Position the panel on a level surface, then adjust the legs to achieve a tilt of 30–45 degrees, which is optimal for summer sun in most mid‑latitude locations. Use sandbags or weighted stakes to secure the legs against wind gusts, especially in open desert campsites.
Because the panel is bifacial, placing it over a reflective surface such as light‑colored sand or a white tarp can increase rear‑side irradiance by up to 10%. However, ensure the surface is clean and free of debris to avoid shading. The panel’s IP68 rating allows deployment in wet conditions, but it is advisable to dry the surface before setup to prevent slipping.
Wiring and Power Management Considerations
Connecting multiple panels in series increases voltage, while parallel connections increase current. For a 12 V system on an RV, wiring the two Renogy panels in parallel maintains a 12 V output while doubling current capacity to 16 A, which is compatible with most charge controllers. Use appropriately sized solar cable—10‑gauge wire is recommended for minimal voltage drop over longer runs.
Integrate a maximum power point tracking (MPPT) charge controller to extract the highest possible power from both Renogy and Jackery panels. MPPT controllers adjust the voltage and current to match the battery’s charging profile, improving efficiency by up to 30% compared with simple PWM controllers. When using the Jackery SolarSaga with a Jackery Explorer power station, the built‑in MPPT controller automatically optimizes the charge.
Comparison and Selection Guide
| Feature | Renogy 100W Solar Panel (2-Pack) | Jackery SolarSaga 200W Portable Panel |
|---|---|---|
| Power Output per Panel | 100 W (12 V) | 200 W (flexible voltage) |
| Conversion Efficiency | 25% | 26.7% (bifacial) |
| Weight | ~12 lb each | ~13 lb (folded) |
| Durability Rating | IP65 (weather‑proof) | IP68 (water & dust proof) |
| Portability | Fixed or semi‑portable with mounting brackets | Foldable, ready‑in‑seconds deployment |
| Price | $175.99 for 2‑pack | Price not provided; refer to Amazon listing |
| Customer Rating | 4.6/5 (7,175 reviews) | Positive reviews; rating not specified |
Choose the Renogy panels if you require a permanent roof‑mounted solution with proven durability and high efficiency. Opt for the Jackery SolarSaga when you need a lightweight, quickly deployable system that excels in low‑light environments and offers built‑in USB and DC ports for direct device charging.
Best Practices & Tips
- Perform a shade analysis each morning; even a small shadow can reduce output by up to 30%.
- Clean panel surfaces regularly with a soft cloth and mild soap to remove dust, pollen, and bird droppings.
- Secure all wiring with zip ties and weather‑proof connectors to prevent corrosion and accidental disconnects.
- Monitor battery state of charge with a digital display; avoid deep discharge to extend battery lifespan.
- When using bifacial panels, maximize rear‑side exposure by elevating the panel a few inches above the ground.
- Store panels in a padded case when not in use to protect the tempered glass from impact.
Frequently Asked Questions
- What tilt angle provides the best performance year‑round? A tilt equal to the latitude of the campsite offers a good compromise; adjust 10–15 degrees higher in winter for low sun.
- Can I mix Renogy and Jackery panels in the same array? Yes, provided a compatible MPPT charge controller is used and the voltage and current ratings are matched appropriately.
- How does temperature affect panel output? Panels lose efficiency as temperature rises; the Renogy panel’s low temperature coefficient of -0.29%/°C minimizes this loss.
- Is an IP rating necessary for campsite use? An IP rating protects against water and dust; IP65 (Renogy) and IP68 (Jackery) ensure reliable operation in rain, snow, and dusty environments.
- What is the advantage of bifacial technology? Bifacial panels capture light on both front and rear surfaces, increasing total energy yield, especially when reflective ground surfaces are present.
- How many panels can I realistically carry on a backpacking trip? The Jackery SolarSaga folds to a compact size and weighs about 13 lb, making a single panel feasible for lightweight expeditions.
- Do I need a separate battery for the solar panels? Yes; a deep‑cycle lithium or lead‑acid battery stores the harvested energy for use after sunset.
Conclusion
Optimizing solar array placement at campsites requires a blend of scientific understanding, careful site assessment, and appropriate equipment selection. By evaluating sun exposure, selecting high‑efficiency panels such as the Renogy 100W Solar Panel (2-Pack) or the Jackery SolarSaga 200W Portable Panel, and employing proper mounting and wiring techniques, campers can achieve reliable, off‑grid power generation. Implementing the best‑practice tips and addressing common questions will further enhance system performance and longevity. With these strategies, any outdoor enthusiast can harness the sun’s energy to power devices, appliances, and adventures.
Products Featured in This Guide
Renogy 100W Solar Panel (2-Pack)
Price: $175.99
Rating: 4.6/5 (7,175 reviews)
Featured because it offers market‑leading 25% conversion efficiency, durable IP65 construction, and a compact design suitable for RV and van roofs.
Jackery SolarSaga 200W Portable Panel
Price: See Amazon listing
Rating: Positive customer feedback
Featured because it combines bifacial technology with a 26.7% efficiency rating, IP68 durability, and rapid‑deployment design ideal for backpacking and temporary campsites.
Frequently Asked Questions
How do I determine the best orientation for a portable solar panel at a campsite?
Aim the panel toward true south (in the Northern Hemisphere) or true north (in the Southern Hemisphere) and adjust the tilt angle to match the sun’s elevation for maximum exposure.
What factors affect solar panel efficiency in a camping environment?
Panel efficiency is influenced by sunlight intensity, tilt angle, shading, temperature, and cleanliness of the panel surface.
Should I use a tracking mount or a fixed mount for campsite solar arrays?
A lightweight, adjustable fixed mount is usually preferred for portability, while simple tracking devices can boost output but add weight and complexity.
How far should I keep trees and tents from my solar panel to avoid shading?
Maintain at least a few meters of clearance and position the panel above any potential shadows, especially during peak sun hours (10 am–2 pm).
Is a higher‑wattage panel like the Jackery SolarSaga 200W always better than a 100W panel?
Higher wattage provides more power in the same sunlight, but choose based on your energy needs, available space, and the weight you can transport.